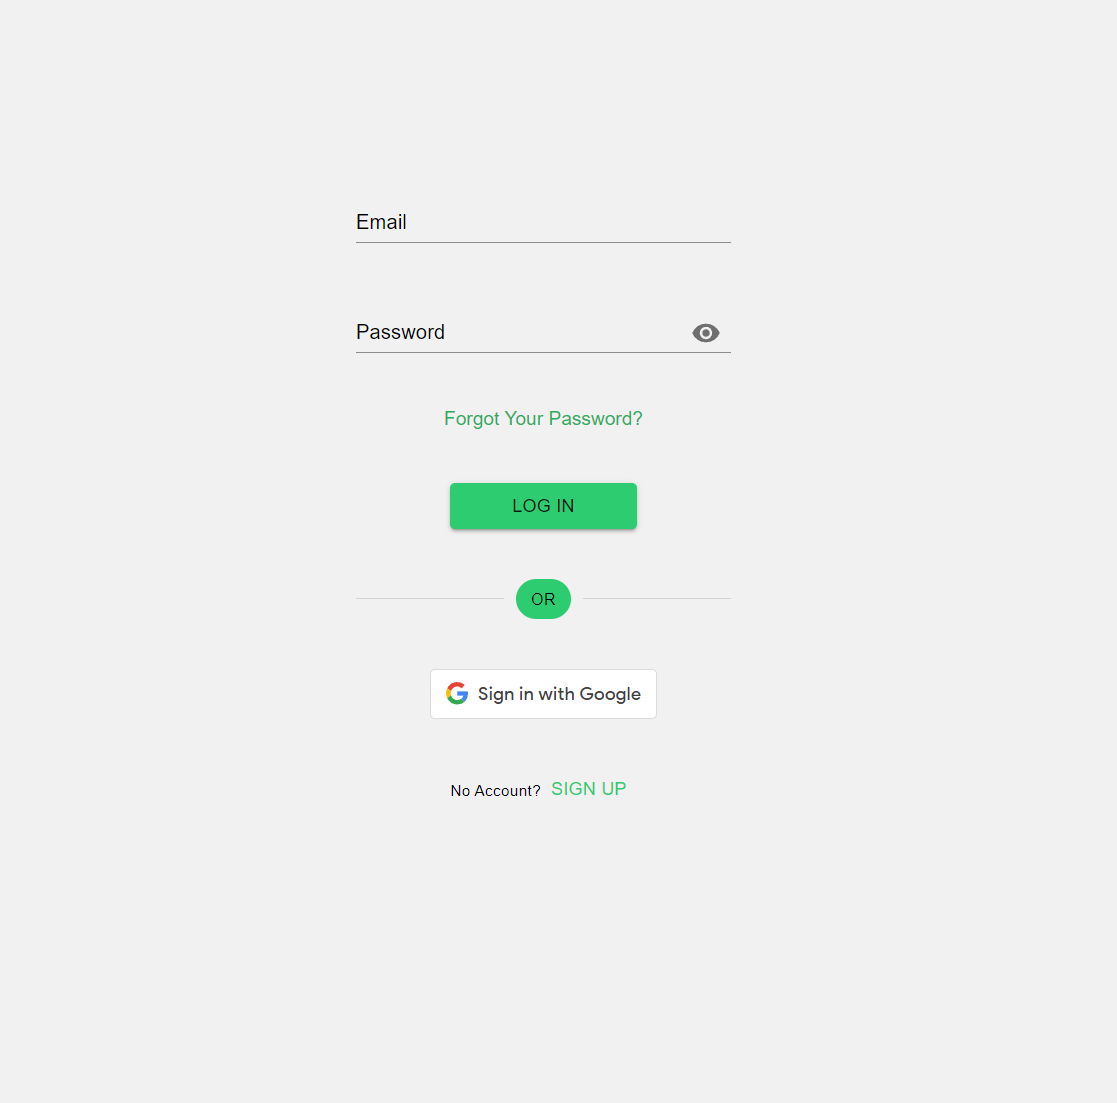
First, log in or sign up. Once signed in, click the create map icon in the top right of your screen.
The first step is to choose a map file to start with. To do this, either upload your own map file from your local files, or choose one of our starting presets.

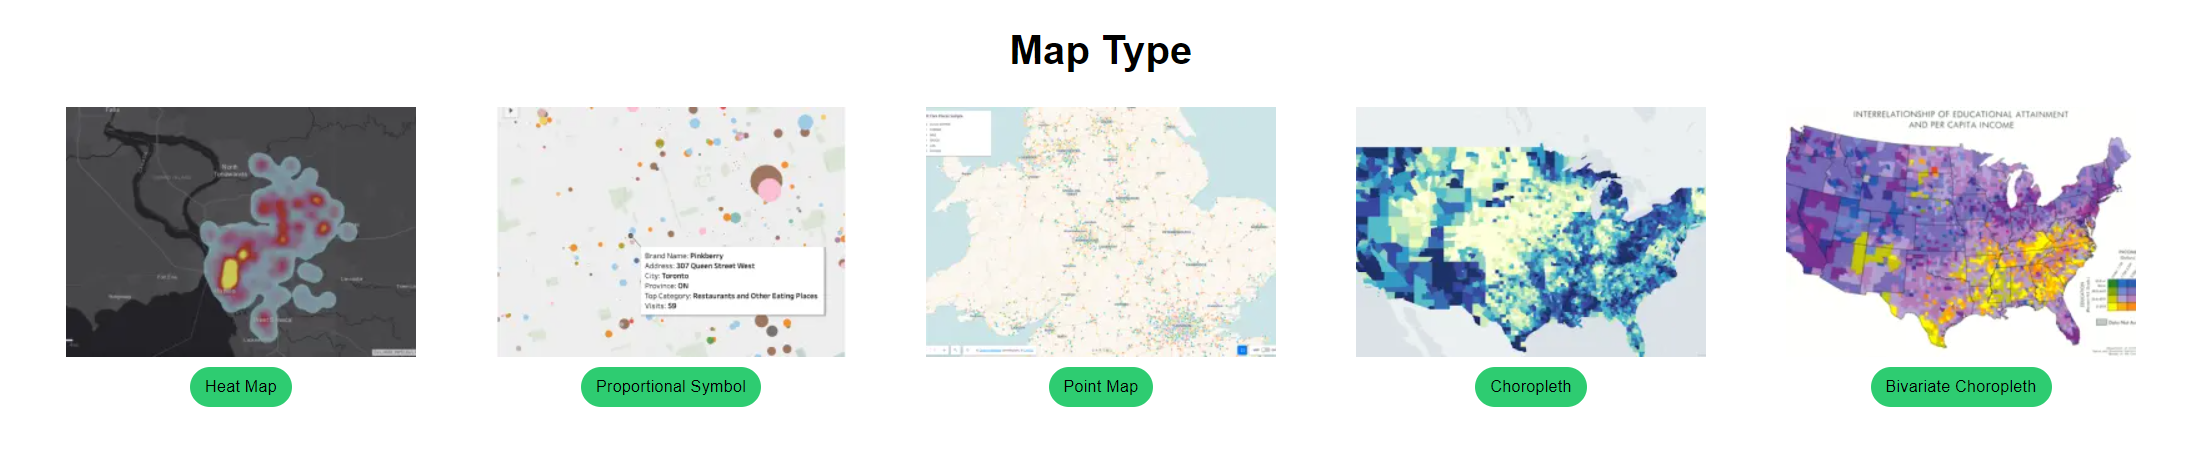
Next, choose a map graphic type which you wish to create from one of our five map types. This cannot be changed later.
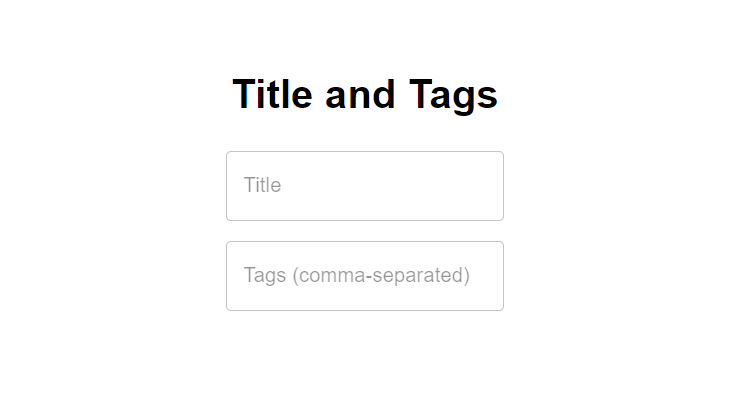
Finally, select a title and some tags to describe the map you are going to create. These can be changed later at any time.
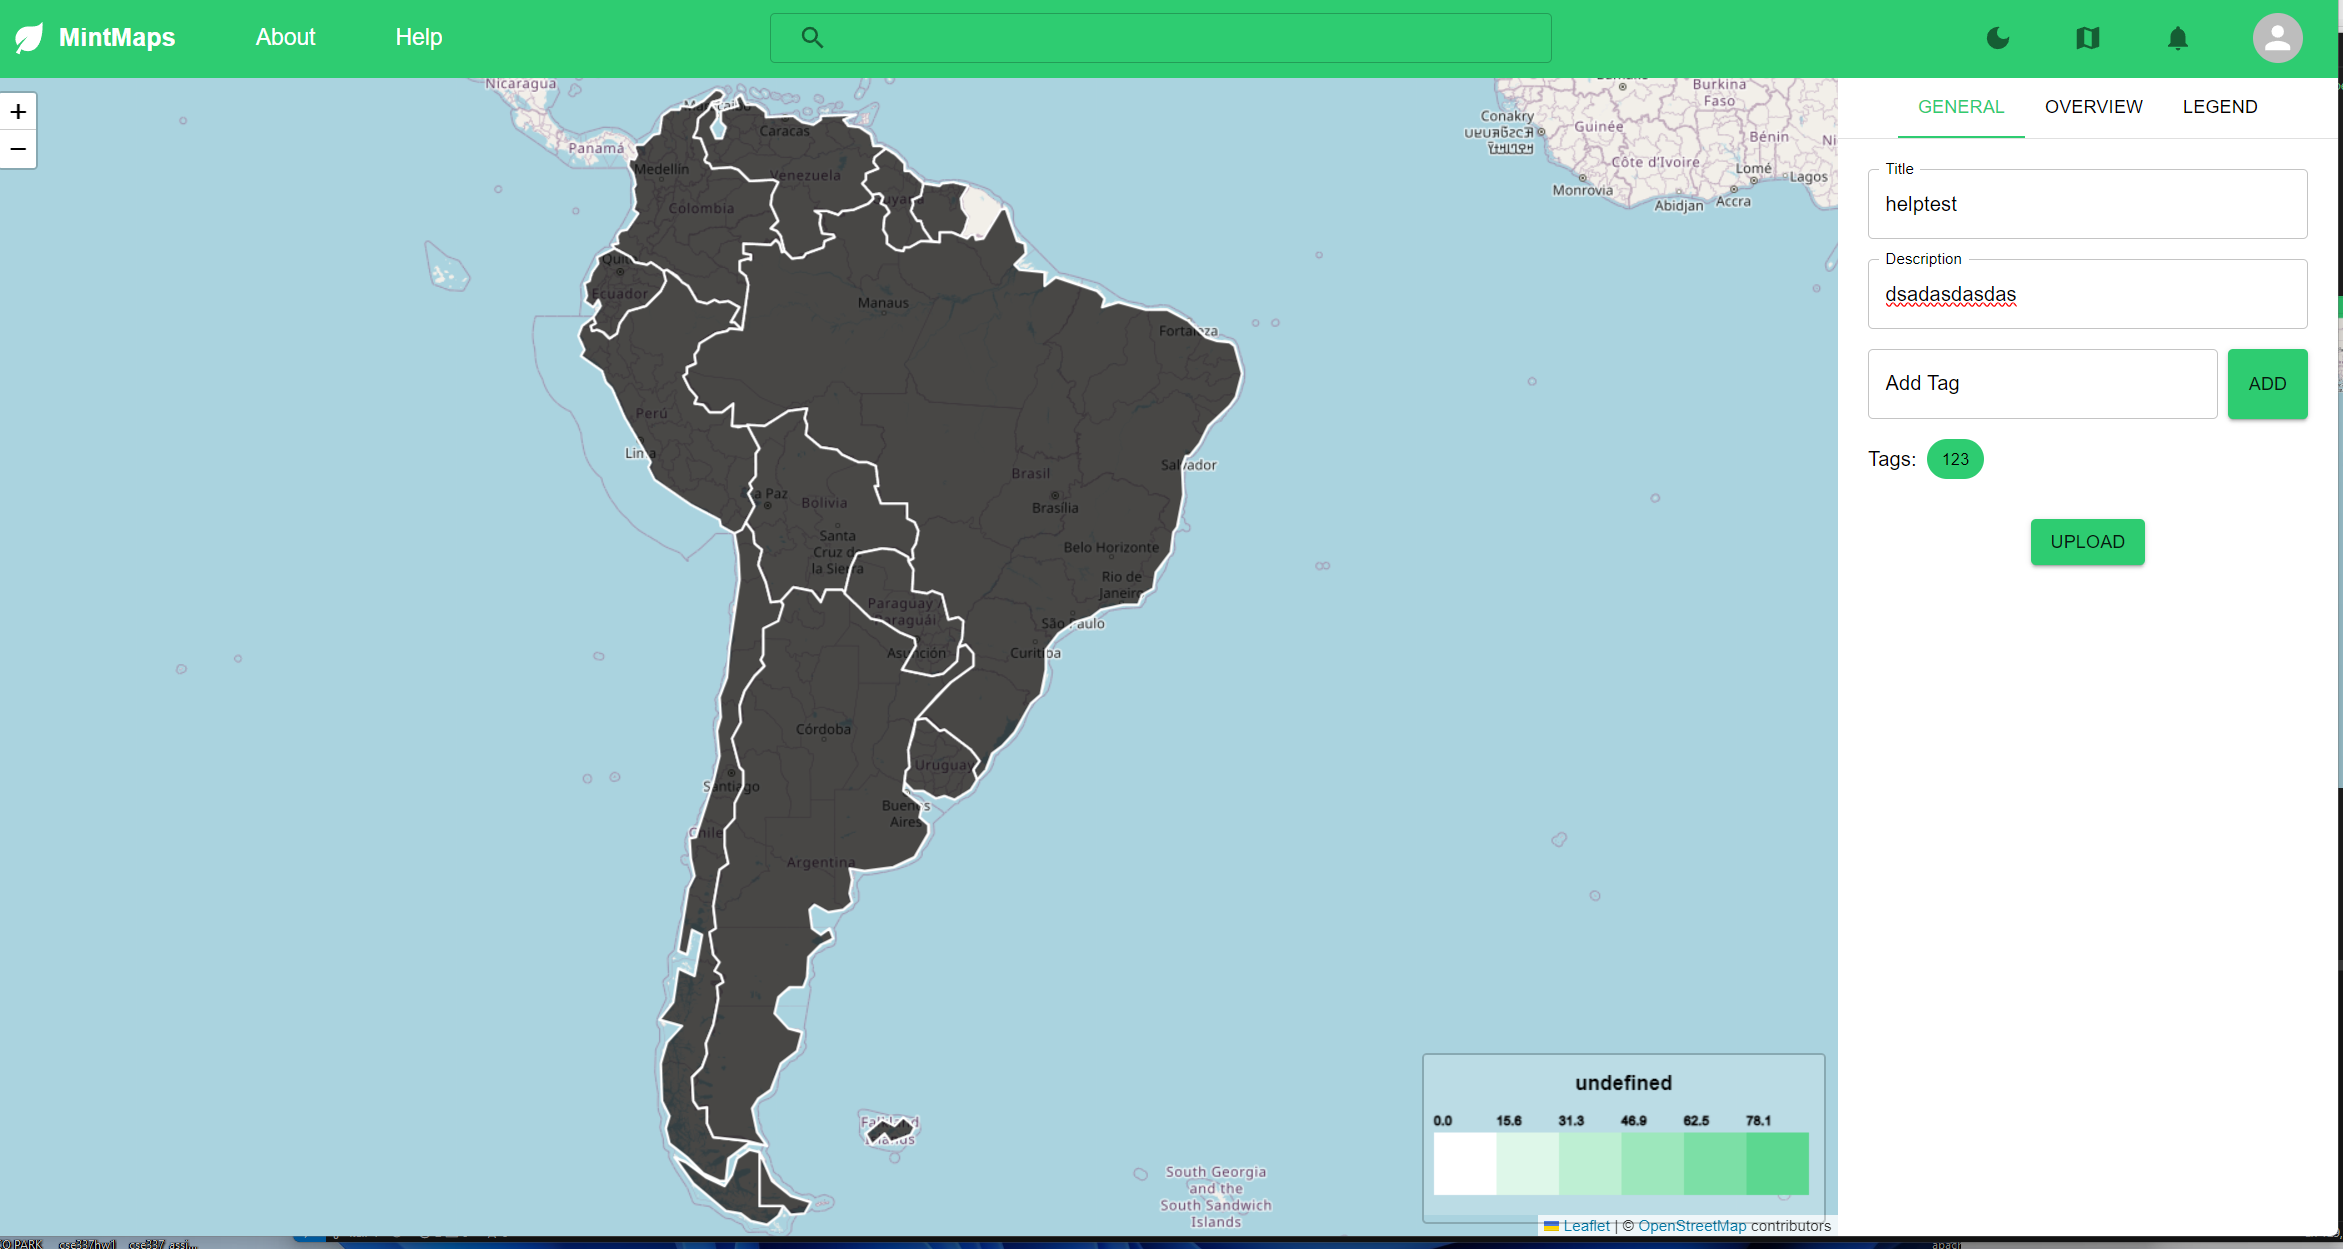
Congratulations! With this, you have created your first map. The options available to you at this point will change depending on which map type you have selected to create. For example, in a point map, you can choose to create new points, as well as editing their names and colors. In a choropleth map, you can select regions in your map template and assign values to them. Regions will then be colored by their values according to your legend. After you are satisfied with your map and wish to upload it to your profile for the world to see, click the Upload button on the “General” tab in the map editor.
On this screen, you will be shown a preview of all of your map information, If you are satisfied with it and wish to upload it, choose a visibility setting and click the Upload button at the bottom of the screen.

If you set your map to be public, other users will now be able to view the map on the home screen or in search results! If you selected your map to be unlisted, users will need a direct link to the map to view it.